Using a hardware wallet
Overview
A hardware wallet is a physical ledger device that is used to store assets. Hardware wallets are protected by a seed phase, similar to software wallets, but they can be disconnected from the internet whenever they are ejected from your computer.
The DFINITY hardware-wallet-cli tool is designed to integrate with Ledger Nano USB devices.
Prerequisites
Have a Ledger Nano device.
Download and install
Node.js.
Ledger Nano device setup
Step 1: Connect your Ledger Nano device to your computer via USB.
Step 2: On the Nano device, select "Set up with Recovery phrase".
Choose a PIN. To connect your Ledger device to an Internet Identity, select "Recovery phrase with 24 words", then enter your Internet Identity's 24-word recovery phrase.
Step 3: On your computer, install Ledger Live from ledger.com and start it.
Upgrade to a newer version if prompted.
Step 4: Connect the Nano device to USB and, if necessary, unlock it with the PIN.
In Ledger Live, select "Manager" in the "Menu" column on the left. Confirm the access on the Nano device.
If prompted, upgrade the Nano device firmware.
Step 5: From within the Ledger Live "Manager" install the app called "Internet computer (ICP)" version >=2.0.6 onto your Nano device.
You can search for the app in the search bar by typing "ICP".
Installation
Open a terminal and run the command:
npm install -g @dfinity/hardware-wallet-cli
Usage
The hardware wallet CLI tool supports the following commands and options:
Commands:
info [options]: Show the wallet's principal, address, and balance.icp: Manage ICP tokens.neuron: Manage neurons.sns: Manage an SNS.icrc: Manage ICRC tokens.node-provider: Manage node providers.
Options:
--network <network>: Specifies the IC network (local, mainnet). Default value is"https://ic0.app", env: IC_NETWORK.--principal <principal>: Specifies the derivation path to use for the principal.
Staking ICP with a hardware wallet
Step 1: Connect the Ledger device to your computer and configure the device using the instructions above.
Step 2: Open the NNS dapp and login with Internet Identity.
Step 3: Create a new ICP account in the NNS dapp and select 'New Account (Hardware Wallet)'.
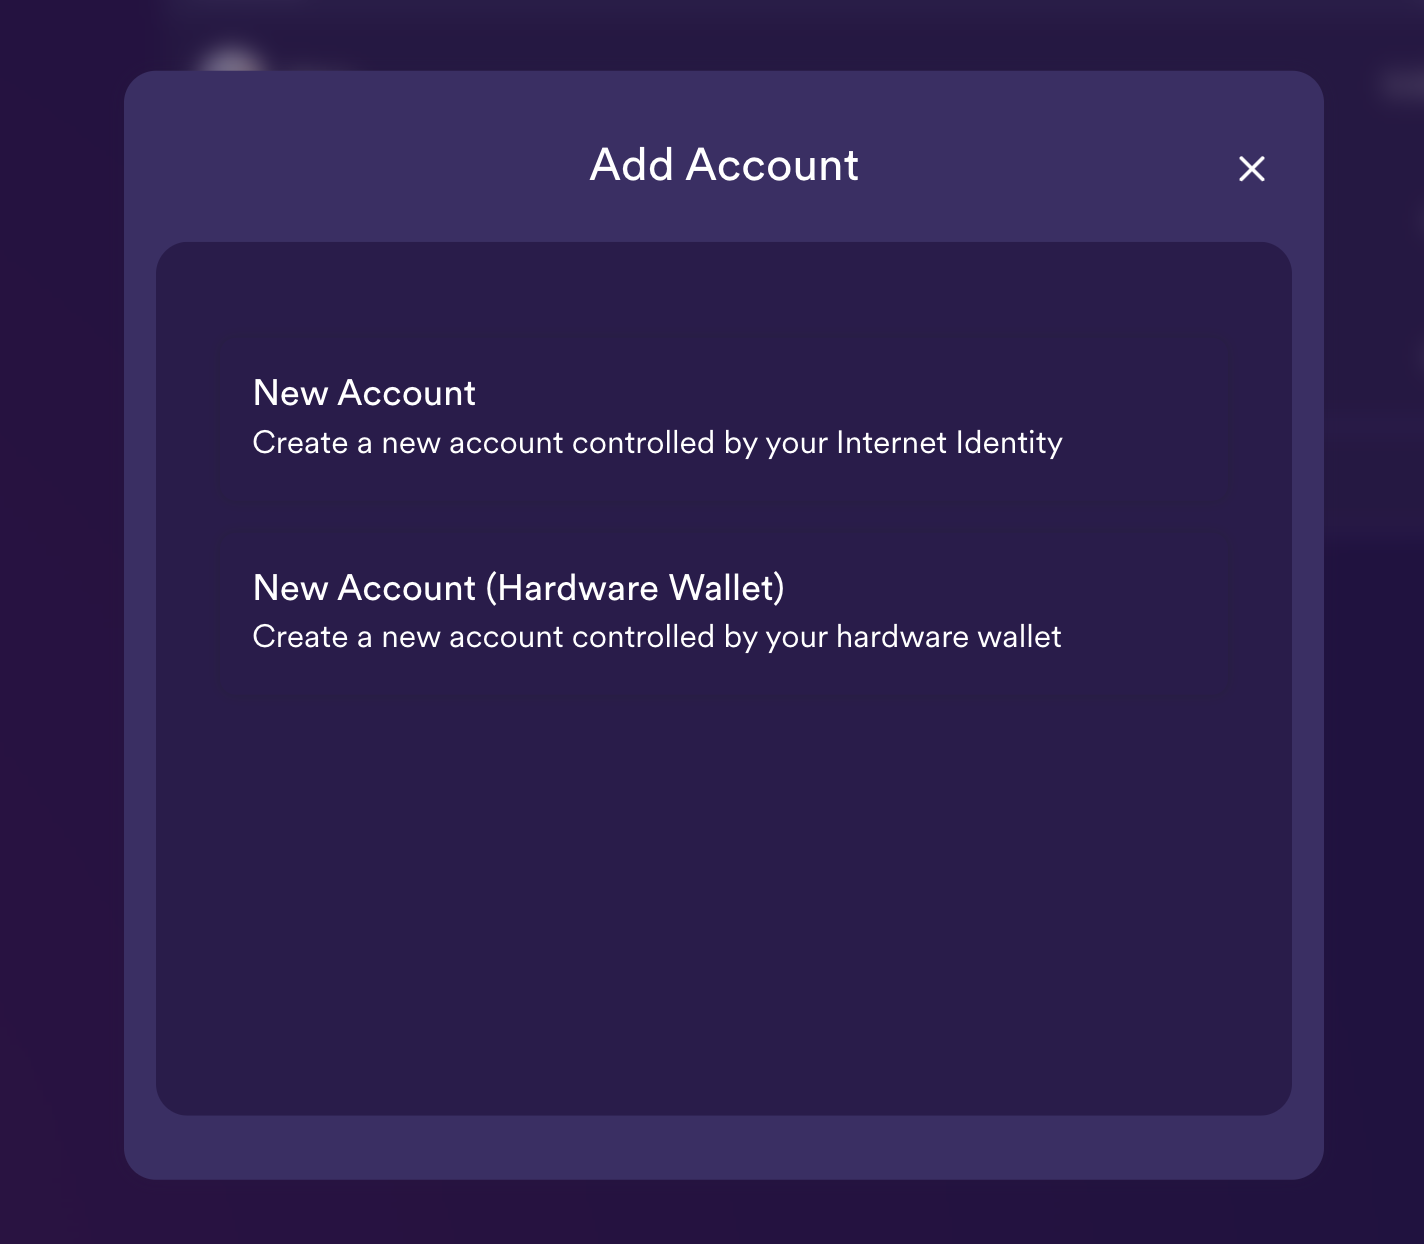
Step 4: Provide a name for your hardware wallet.
Step 5: A pop-up window will appear asking you to select which hardware wallet connected to the computer you'd like to use. Select the Ledger device.
Step 6: The principal and account identifier for the device will be shown. Copy the account identifier for the hardware wallet.
Step 7: Send ICP tokens to the hardware wallet account identifier from a centralized exchange, decentralized exchange, or another wallet.
Step 8: From the NNS dapp, go to the 'Neuron Staking' tab and select 'Stake ICP'.
Step 9: When prompted for the 'Source' account to use, select the hardware wallet account.
Step 10: Confirm the neuron staking transaction on the Ledger device.
For additional information about using hardware wallets for staking neurons, check out the NNS explained video.
Connecting the NNS to a neuron created with quill
Step 1: Connect the Ledger device to your computer. Recover the identity you used with quill on the device, or configure quill to use the identity already on the device.
Step 2: Create a neuron with quill using the identity stored on the Ledger device.
Step 3: Open the NNS dapp and login with Internet Identity.
Step 4: Create a new ICP account in the NNS dapp and select 'New Account (Hardware Wallet)'.
Step 5: Select 'Show neurons' from the address's details.
Step 6: Confirm the transaction on the Ledger device.
Step 7: Select 'Add to NNS dapp'.
Step 8: Confirm the addition of a hotkey, then confirm the transaction on the Ledger device.
Learn more in the NNS explained video.