Machine learning sample
Overview
Machine learning is a form of artificial intelligence (AI) that observes statistical algorithms and their data to learn patterns and generalizations. By analyzing these data patterns, machine learning algorithms can execute tasks by predicting the correct result with high accuracy.
One common machine learning model that is used to train data sets is the Modified National Institute of Standards and Technology (MNIST) database which contains a collection of handwritten numbers. This database is commonly used for training different image processing systems and testing different machine learning platforms.
The Rust Burn crate is a deep learning framework package that can be used for creating machine learning programs. This sample will use the MNIST database and the Rust Burn crate to create a simple app where the user will draw a number, and the machine learning model will calculate the probability that the number drawn is a digit between 0-9.
For example, if the user draws the digit 5, the machine learning model will source the MNIST database, and determine the visual patterns present in both the user's drawn number and the number 5 and calculate the probability that the user drew the number 5.
This project is based off of one found within the Rust Burn examples.
Prerequisites
Creating a new project
To get started, create a new project in your working directory. Open a terminal window, then use the commands:
Use dfx new <project_name> to create a new project:
dfx start --clean --background
dfx new machine_learning_sample
You will be prompted to select the language that your backend canister will use. Select 'Rust':
? Select a backend language: ›
  Motoko
❯ Rust
  TypeScript (Azle)
  Python (Kybra)
dfx versions v0.17.0 and newer support this dfx new interactive prompt. Learn more about dfx v0.17.0.
Then, select a frontend framework for your frontend canister. Select 'Vanilla JS':
  ? Select a frontend framework: ›
  SvelteKit
  React
  Vue
❯ Vanilla JS
  No JS template
  No frontend canister
Lastly, you can include extra features to be added to your project:
  ? Add extra features (space to select, enter to confirm) ›
⬚ Internet Identity
⬚ Bitcoin (Regtest)
⬚ Frontend tests
Then, navigate into the new project directory:
cd machine_learning_sample
You can also clone the GitHub repo for this project if you want to get started quickly.
Creating the backend canister
Start by opening the src/machine_learning_sample_backend/src/lib.rs file. By default, this contains a 'Hello, world!' example. Replace the default code with the following:
// #![cfg_attr(not(test), no_std)]

use web::Mnist;

pub mod model;
pub mod state;
pub mod web;

// extern crate alloc;
// use std::alloc::{boxed::Box, format, string::String};

#[ic_cdk::query]
fn mnist_inference(hand_drawn_digit: Vec<f32>) -> Vec<f32> {
    Mnist::new().inference(&hand_drawn_digit).unwrap().to_vec()
}
What this code does
This code queries the user input called hand_drawn_digit, which the user creates by interacting with the frontend canister. You'll take a closer look at the frontend canister in a later step.
Next, create a new file src/machine_learning_sample_backend/src/model.rs that contains the following code:
#![allow(clippy::new_without_default)]

use burn::{
    module::Module,
    nn::{self, conv::Conv2dPaddingConfig, BatchNorm},
    tensor::{backend::Backend, Tensor},
};

#[derive(Module, Debug)]
pub struct Model<B: Backend> {
    conv1: ConvBlock<B>,
    conv2: ConvBlock<B>,
    conv3: ConvBlock<B>,
    dropout: nn::Dropout,
    fc1: nn::Linear<B>,
    fc2: nn::Linear<B>,
    activation: nn::GELU,
}

const NUM_CLASSES: usize = 10;

impl<B: Backend> Model<B> {
    pub fn new() -> Self {
        let conv1 = ConvBlock::new([1, 8], [3, 3]); // out: [Batch,8,26,26]
        let conv2 = ConvBlock::new([8, 16], [3, 3]); // out: [Batch,16,24x24]
        let conv3 = ConvBlock::new([16, 24], [3, 3]); // out: [Batch,24,22x22]
        let hidden_size = 24 * 22 * 22;
        let fc1 = nn::LinearConfig::new(hidden_size, 32)
            .with_bias(false)
            .init();
        let fc2 = nn::LinearConfig::new(32, NUM_CLASSES)
            .with_bias(false)
            .init();

        let dropout = nn::DropoutConfig::new(0.5).init();

        Self {
            conv1,
            conv2,
            conv3,
            fc1,
            fc2,
            dropout,
            activation: nn::GELU::new(),
        }
    }

    pub fn forward(&self, input: Tensor<B, 3>) -> Tensor<B, 2> {
        let [batch_size, heigth, width] = input.dims();

        let x = input.reshape([batch_size, 1, heigth, width]).detach();
        let x = self.conv1.forward(x);
        let x = self.conv2.forward(x);
        let x = self.conv3.forward(x);

        let [batch_size, channels, heigth, width] = x.dims();
        let x = x.reshape([batch_size, channels * heigth * width]);

        let x = self.dropout.forward(x);
        let x = self.fc1.forward(x);
        let x = self.activation.forward(x);

        self.fc2.forward(x)
    }
}

#[derive(Module, Debug)]
pub struct ConvBlock<B: Backend> {
    conv: nn::conv::Conv2d<B>,
    norm: BatchNorm<B, 2>,
    activation: nn::GELU,
}

impl<B: Backend> ConvBlock<B> {
    pub fn new(channels: [usize; 2], kernel_size: [usize; 2]) -> Self {
        let conv = nn::conv::Conv2dConfig::new(channels, kernel_size)
            .with_padding(Conv2dPaddingConfig::Valid)
            .init();
        let norm = nn::BatchNormConfig::new(channels[1]).init();

        Self {
            conv,
            norm,
            activation: nn::GELU::new(),
        }
    }

    pub fn forward(&self, input: Tensor<B, 4>) -> Tensor<B, 4> {
        let x = self.conv.forward(input);
        let x = self.norm.forward(x);

        self.activation.forward(x)
    }
}
What this code does
This code defines a machine learning model that will use the MNIST database to determine what number the user draws when they interact with the frontend canister. This model defines several layers, including:
- Input Image (28,28, 1ch)
- Conv2d(3x3, 8ch), BatchNorm2d, Gelu
- Conv2d(3x3, 16ch), BatchNorm2d, Gelu
- Conv2d(3x3, 24ch), BatchNorm2d, Gelu
- Linear(11616, 32), Gelu
- Linear(32, 10)
- Softmax Output
In total, the number of parameters used by the model is 376,952. The accuracy of this model is 98.67%.
Next, create another new file called src/machine_learning_sample_backend/src/state.rs with the code:
use crate::model::Model;
use burn::module::Module;
use burn::record::BinBytesRecorder;
use burn::record::FullPrecisionSettings;
use burn::record::Recorder;
use burn_ndarray::NdArrayBackend;

pub type Backend = NdArrayBackend<f32>;

static STATE_ENCODED: &[u8] = include_bytes!("../model.bin");

/// Builds and loads trained parameters into the model.
pub fn build_and_load_model() -> Model<Backend> {
    let model: Model<Backend> = Model::new();
    let record = BinBytesRecorder::<FullPrecisionSettings>::default()
        .load(STATE_ENCODED.to_vec())
        .expect("Failed to decode state");

    model.load_record(record)
}
What this code does
This code builds and loads trained parameters into the model.
Lastly, create one more Rust file called src/machine_learning_sample_backend/src/web.rs with the code:
// #![allow(clippy::new_without_default)]

// use ::alloc::{boxed::Box, string::String};

use crate::model::Model;
use crate::state::{build_and_load_model, Backend};

use burn::tensor::Tensor;

// use wasm_bindgen::prelude::*;

/// Data structure that corresponds to JavaScript class.
/// See: https://rustwasm.github.io/wasm-bindgen/contributing/design/exporting-rust-struct.html
// #[wasm_bindgen]
pub struct Mnist {
    model: Model<Backend>,
}

// #[wasm_bindgen]
impl Mnist {
    /// Constructor called by JavaScripts with the new keyword.
    // #[wasm_bindgen(constructor)]
    pub fn new() -> Self {
        Self {
            model: build_and_load_model(),
        }
    }

    /// Returns the inference results.
    ///
    /// This method is called from JavaScript via generated wrapper code by wasm-bindgen.
    ///
    /// # Arguments
    ///
    /// * `input` - A f32 slice of input 28x28 image
    ///
    /// See bindgen support types for passing and returning arrays:
    /// * https://rustwasm.github.io/wasm-bindgen/reference/types/number-slices.html
    /// * https://rustwasm.github.io/wasm-bindgen/reference/types/boxed-number-slices.html
    ///
    pub fn inference(&self, input: &[f32]) -> Result<Box<[f32]>, String> {
        // Reshape from the 1D array to 3d tensor [batch, height, width]
        let input: Tensor<Backend, 3> = Tensor::from_floats(input).reshape([1, 28, 28]);

        // Normalize input: make between [0,1] and make the mean=0 and std=1
        // values mean=0.1307,std=0.3081 were copied from Pytorch Mist Example
        // https://github.com/pytorch/examples/blob/54f4572509891883a947411fd7239237dd2a39c3/mnist/main.py#L122

        let input = ((input / 255) - 0.1307) / 0.3081;

        // Run the tensor input through the model
        let output: Tensor<Backend, 2> = self.model.forward(input);

        // Convert the model output into probability distribution using softmax formula
        let output: Tensor<Backend, 2> = output.clone().exp() / output.exp().sum_dim(1);

        // Flatten output tensor with [1, 10] shape into boxed slice of [f32]
        Ok(output.to_data().value.into_boxed_slice())
    }
}
What this code does
This code creates a data structure for the MNIST database data that corresponds to a JavaScript class, then builds the machine learning model and returns the inference results.
There are two more files we need to edit for our backend canister. The Cargo.toml file and the Candid file for our backend canister.
By default, both files exist at src/machine_learning_backend. First, open Cargo.toml and insert the following configuration:
[package]
name = "machine_learning_sample_backend"
version = "0.1.0"
edition = "2021"

# See more keys and their definitions at https://doc.rust-lang.org/cargo/reference/manifest.html

[lib]
crate-type = ["cdylib"]

[dependencies]
candid = "0.8"
ic-cdk = "0.7"
burn = { git  = "https://github.com/burn-rs/burn",  default-features = false }
burn-ndarray = { git = "https://github.com/burn-rs/burn",  default-features = false }
serde = "*"
# wasm-bindgen = "0.2.86"
getrandom = { version = "*", features = ["custom"] }
This file defines the dependencies that our canister needs to import and use.
Then, open the Candid file for the canister, machine_learning_sample_backend.did. Insert the following service definition:
service : {
    "mnist_inference": (vec float32) -> (vec float32) query;
}
To run your machine learning model, you will need to download the raw binary file for the model. In the src/machine_learning_sample_backend folder, download the following file:
wget https://github.com/smallstepman/ic-mnist/raw/main/src/ic_mnist_backend/model.bin
Creating the frontend user interface
To create the frontend interface, you will need an index.html file and an index.js file that are both stored in the subfolder src/machine_learning_sample_frontend/src. Let's start with the index.html file:
<!-- This demo is part of Burn project: https://github.com/burn-rs/burn

    Released under a dual license:
    https://github.com/burn-rs/burn/blob/main/LICENSE-MIT

    https://github.com/burn-rs/burn/blob/main/LICENSE-APACHE
-->
<!DOCTYPE html>
<html>
  <head>
    <meta charset="utf-8" />
    <title>Burn MNIST Inference Web Demo</title>

    <script
      src="https://cdn.jsdelivr.net/npm/fabric@5.3.0/dist/fabric.min.js"
      integrity="sha256-SPjwkVvrUS/H/htIwO6wdd0IA8eQ79/XXNAH+cPuoso="
      crossorigin="anonymous"
    ></script>

    <script
      src="https://cdn.jsdelivr.net/npm/chart.js@4.2.1/dist/chart.umd.min.js"
      integrity="sha256-tgiW1vJqfIKxE0F2uVvsXbgUlTyrhPMY/sm30hh/Sxc="
      crossorigin="anonymous"
    ></script>

    <script
      src="https://cdn.jsdelivr.net/npm/chartjs-plugin-datalabels@2.2.0/dist/chartjs-plugin-datalabels.min.js"
      integrity="sha256-IMCPPZxtLvdt9tam8RJ8ABMzn+Mq3SQiInbDmMYwjDg="
      crossorigin="anonymous"
    ></script>

    <link
      rel="stylesheet"
      href="https://cdn.jsdelivr.net/npm/normalize.min.css@8.0.1/normalize.min.css"
      integrity="sha256-oeib74n7OcB5VoyaI+aGxJKkNEdyxYjd2m3fi/3gKls="
      crossorigin="anonymous"
    />

    <style>
      h1 {
        padding: 15px;
      }
      th,
      td {
        padding: 5px;
        text-align: center;
        vertical-align: middle;
      }
    </style>
  </head>
  <body>
    <h1>Burn MNIST Inference Demo</h1>

    <table>
      <tr>
        <th>Draw a digit here</th>
        <th>Cropped and scaled</th>
        <th>Probability result</th>
      </tr>
      <tr>
        <td>
          <canvas id="main-canvas" width="300" height="300" style="border: 1px solid #aaa"></canvas>
        </td>
        <td>
          <canvas
            id="scaled-canvas"
            width="28"
            height="28"
            style="border: 1px solid #aaa; width: 100px; height: 100px"
          ></canvas>
          <canvas id="crop-canvas" width="28" height="28" style="display: none"></canvas>
        </td>
        <td>
          <canvas id="chart" style="border: 1px solid #aaa; width: 600px; height: 300px"></canvas>
        </td>
      </tr>
      <tr>
        <td><button id="clear">Clear</button></td>
        <td></td>
        <td></td>
      </tr>
    </table>

    <div></div>

    <script type="module" src="index.js"></script>
  </body>
</html>
Next, insert the following code in the src/machine_learning_sample_frontend/src/index.js file:
import { machine_learning_sample_backend } from "../../declarations/machine_learning_sample_backend";

/**
 *
 * This demo is part of Burn project: https://github.com/burn-rs/burn
 *
 * Released under a dual license:
 * https://github.com/burn-rs/burn/blob/main/LICENSE-MIT
 * https://github.com/burn-rs/burn/blob/main/LICENSE-APACHE
 *
 */

/**
 * Auto crops the image, scales to 28x28 pixel image, and returns as grayscale image.
 * @param {object} mainContext - The 2d context of the source canvas.
 * @param {object} cropContext - The 2d context of an intermediate hidden canvas.
 * @param {object} scaledContext - The 2d context of the destination 28x28 canvas.
 */
export function cropScaleGetImageData(mainContext, cropContext, scaledContext) {

  const cropEl = cropContext.canvas;

  // Get the auto-cropped image data and put into the intermediate/hidden canvas
  cropContext.fillStyle = "rgba(255, 255, 255, 255)"; // white non-transparent color
  cropContext.fillRect(0, 0, cropEl.width, cropEl.height);
  cropContext.save();
  const [w, h, croppedImage] = cropImageFromCanvas(mainContext);
  cropEl.width = Math.max(w, h) * 1.2;
  cropEl.height = Math.max(w, h) * 1.2;
  const leftPadding = (cropEl.width - w) / 2;
  const topPadding = (cropEl.height - h) / 2;
  cropContext.putImageData(croppedImage, leftPadding, topPadding);

  // Copy image data to scale 28x28 canvas
  scaledContext.save();
  scaledContext.clearRect(0, 0, scaledContext.canvas.height, scaledContext.canvas.width);
  scaledContext.fillStyle = "rgba(255, 255, 255, 255)"; // white non-transparent color
  scaledContext.fillRect(0, 0, cropEl.width, cropEl.height);
  scaledContext.scale(28.0 / cropContext.canvas.width, 28.0 / cropContext.canvas.height);
  scaledContext.drawImage(cropEl, 0, 0);

  // Extract image data and convert into single value (greyscale) array
  const data = rgba2gray(scaledContext.getImageData(0, 0, 28, 28).data);
  scaledContext.restore();

  return data;
}

/**
 * Converts RGBA image data from canvas to grayscale (0 is white & 255 is black).
 * @param {int[]} - Image data.
 */
export function rgba2gray(data) {
  let converted = new Float32Array(data.length / 4);

  // Data is stored as [r0,g0,b0,a0, ... r[n],g[n],b[n],a[n]] where n is number of pixels.
  for (let i = 0; i < data.length; i += 4) {
    let r = 255 - data[i];     // red
    let g = 255 - data[i + 1]; // green
    let b = 255 - data[i + 2]; // blue
    let a = 255 - data[i + 3]; // alpha

    // Use RGB grayscale coefficients (https://imagej.nih.gov/ij/docs/menus/image.html)
    let y = 0.299 * r + 0.587 * g + 0.114 * b;
    converted[i / 4] = y; // 4 times fewer data points but the same number of pixels.
  }
  return converted;
}

/**
 * Auto crops a canvas images and returns its image data.
 * @param {object} ctx - canvas 2d context.
 * src: https://stackoverflow.com/a/22267731
 */
export function cropImageFromCanvas(ctx) {
  let canvas = ctx.canvas,
    w = canvas.width,
    h = canvas.height,
    pix = { x: [], y: [] },
    imageData = ctx.getImageData(0, 0, canvas.width, canvas.height),
    x,
    y,
    index;
  for (y = 0; y < h; y++) {
    for (x = 0; x < w; x++) {
      index = (y * w + x) * 4;

      let r = imageData.data[index];
      let g = imageData.data[index + 1];
      let b = imageData.data[index + 2];
      if (Math.min(r, g, b) != 255) {
        pix.x.push(x);
        pix.y.push(y);
      }
    }
  }
  pix.x.sort(function (a, b) {
    return a - b;
  });
  pix.y.sort(function (a, b) {
    return a - b;
  });
  let n = pix.x.length - 1;
  w = 1 + pix.x[n] - pix.x[0];
  h = 1 + pix.y[n] - pix.y[0];
  return [w, h, ctx.getImageData(pix.x[0], pix.y[0], w, h, { willReadFrequently: true })];
}

/**
 * Truncates number to a given decimal position
 * @param {number} num - Number to truncate.
 * @param {number} fixed - Decimal positions.
 * src: https://stackoverflow.com/a/11818658
 */
export function toFixed(num, fixed) {
  const re = new RegExp('^-?\\d+(?:\.\\d{0,' + (fixed || -1) + '})?');
  return num.toString().match(re)[0];
}

/**
 * Looks up element by an id.
 * @param {string} - Element id.
 */
export function $(id) {
  return document.getElementById(id);
}

/**
 * Helper function that builds a chart using Chart.js library.
 * @param {object} chartEl - Chart canvas element.
 *
 * NOTE: Assumes chart.js is loaded into the global.
 */
export function chartConfigBuilder(chartEl) {
  Chart.register(ChartDataLabels);
  return new Chart(chartEl, {
    plugins: [ChartDataLabels],
    type: "bar",
    data: {
      labels: ["0", "1", "2", "3", "4", "5", "6", "7", "8", "9"],
      datasets: [
        {
          data: [0.0, 0.0, 0.0, 0.0, 0.0, 0.0, 0.0, 0.0, 0.0],
          borderWidth: 0,
          fill: true,
          backgroundColor: "#247ABF",
        },
      ],
    },
    options: {
      responsive: false,
      maintainAspectRatio: false,
      animation: true,
      plugins: {
        legend: {
          display: false,
        },
        tooltip: {
          enabled: true,
        },
        datalabels: {
          color: "white",
          formatter: function (value, context) {
            return toFixed(value, 2);
          },
        },
      },
      scales: {
        y: {
          beginAtZero: true,
          max: 1.0,
        },
      },
    },
  });
}

function fireOffInference() {
  clearTimeout(timeoutId);
  timeoutId = setTimeout(async () => {
    isTimeOutSet = true;
    fabricCanvas.freeDrawingBrush._finalizeAndAddPath();
    const data = Object.values(cropScaleGetImageData(mainContext, cropContext, scaledContext));
    const output = await machine_learning_sample_backend.mnist_inference(data);
    chart.data.datasets[0].data = output;
    chart.update();
    isTimeOutSet = false;
  }, 50);
  isTimeOutSet = true;
}

const chart = chartConfigBuilder($("chart"));

const mainCanvasEl = $("main-canvas");
const scaledCanvasEl = $("scaled-canvas");
const cropEl = $("crop-canvas");
const mainContext = mainCanvasEl.getContext("2d", { willReadFrequently: true });
const cropContext = cropEl.getContext("2d", { willReadFrequently: true });
const scaledContext = scaledCanvasEl.getContext("2d", { willReadFrequently: true });

const fabricCanvas = new fabric.Canvas(mainCanvasEl, {
  isDrawingMode: true,
});

const backgroundColor = "rgba(255, 255, 255, 255)"; // White with solid alha
fabricCanvas.freeDrawingBrush.width = 25;
fabricCanvas.backgroundColor = backgroundColor;

$("clear").onclick = function () {
  fabricCanvas.clear();
  fabricCanvas.backgroundColor = backgroundColor;
  fabricCanvas.renderAll();
  mainContext.clearRect(0, 0, mainCanvasEl.width, mainCanvasEl.height);
  scaledContext.clearRect(0, 0, scaledCanvasEl.width, scaledCanvasEl.height);

  chart.data.datasets[0].data = [0.0, 0.0, 0.0, 0.0, 0.0, 0.0, 0.0, 0.0, 0.0];
  chart.update();
};

let timeoutId;
let isDrawing = false;
let isTimeOutSet = false;


fabricCanvas.on("mouse:down", function (event) {
  isDrawing = true;
});

fabricCanvas.on("mouse:up", function (event) {
  isDrawing = false;
  fireOffInference();
});

fabricCanvas.on("mouse:move", function (event) {
  if (isDrawing && isTimeOutSet == false) {
    fireOffInference();
  }
});
Configuring the dfx.json file
As a last step before deploying and testing the app, open the dfx.json file in your project's root directory and edit the configuration to reflect the code you've written:
{
  "canisters": {
    "machine_learning_sample_backend": {
      "candid": "src/machine_learning_sample_backend/machine_learning_sample_backend.did",
      "package": "ic_mnist_backend",
      "type": "rust",
      "gzip": true
    },
    "machine_learning_sample_frontend": {
      "dependencies": [
        "machine_learning_sample_backend"
      ],
      "frontend": {
        "entrypoint": "src/machine_learning_sample_frontend/src/index.html"
      },
      "source": [
        "src/machine_learning_sample_frontend/assets",
        "dist/machine_learning_sample_frontend/"
      ],
      "type": "assets"
    }
  },
  "defaults": {
    "build": {
      "args": "",
      "packtool": ""
    }
  },
  "output_env_file": ".env",
  "version": 1
}
Deploying the project
To deploy this project, run the command:
dfx deploy // Deploy locally
dfx deploy --network ic // Deploy to the mainnet. Deploying to the mainnet will cost cycles.
Then, open the frontend canister URL in your web browser:
Deployed canisters.
URLs:
  Frontend canister via browser
    ic_mnist_frontend: http://127.0.0.1:4943/?canisterId=a4tbr-q4aaa-aaaaa-qaafq-cai
  Backend canister via Candid interface:
    ic_mnist_backend: http://127.0.0.1:4943/?canisterId=ajuq4-ruaaa-aaaaa-qaaga-cai&id=a3shf-5eaaa-aaaaa-qaafa-cai
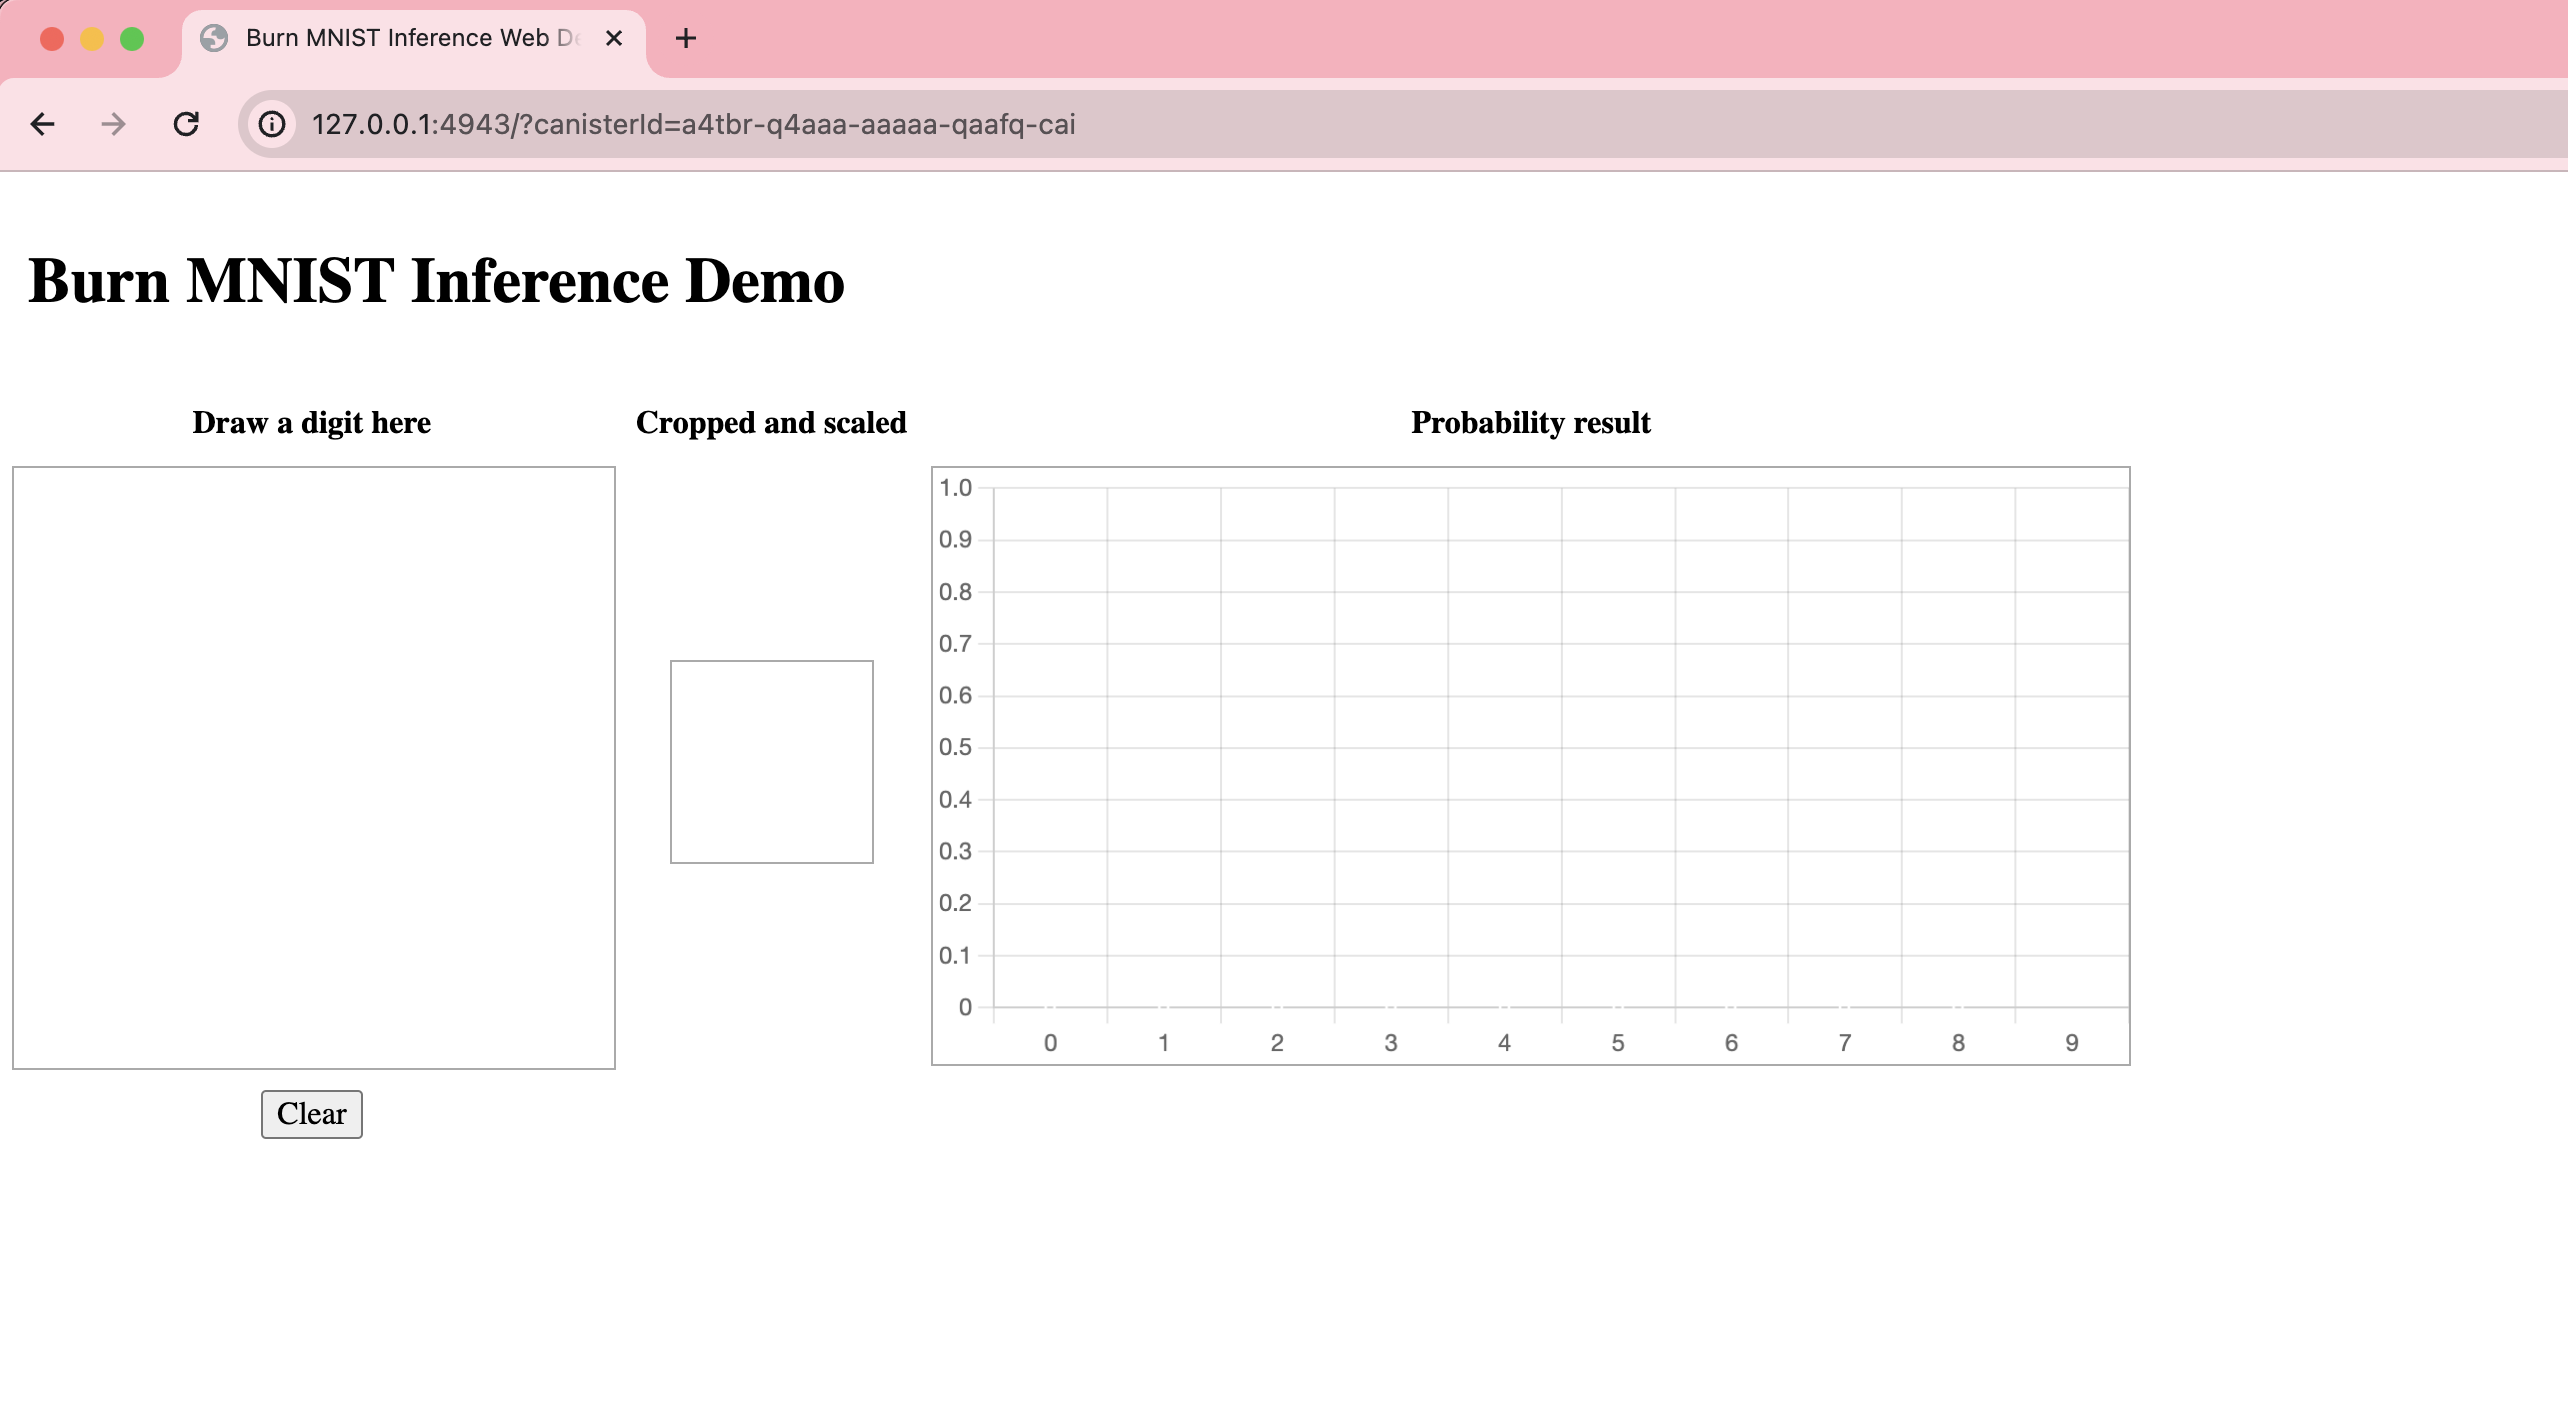
You will see the MNIST sample interface:

Interacting with the machine learning dapp
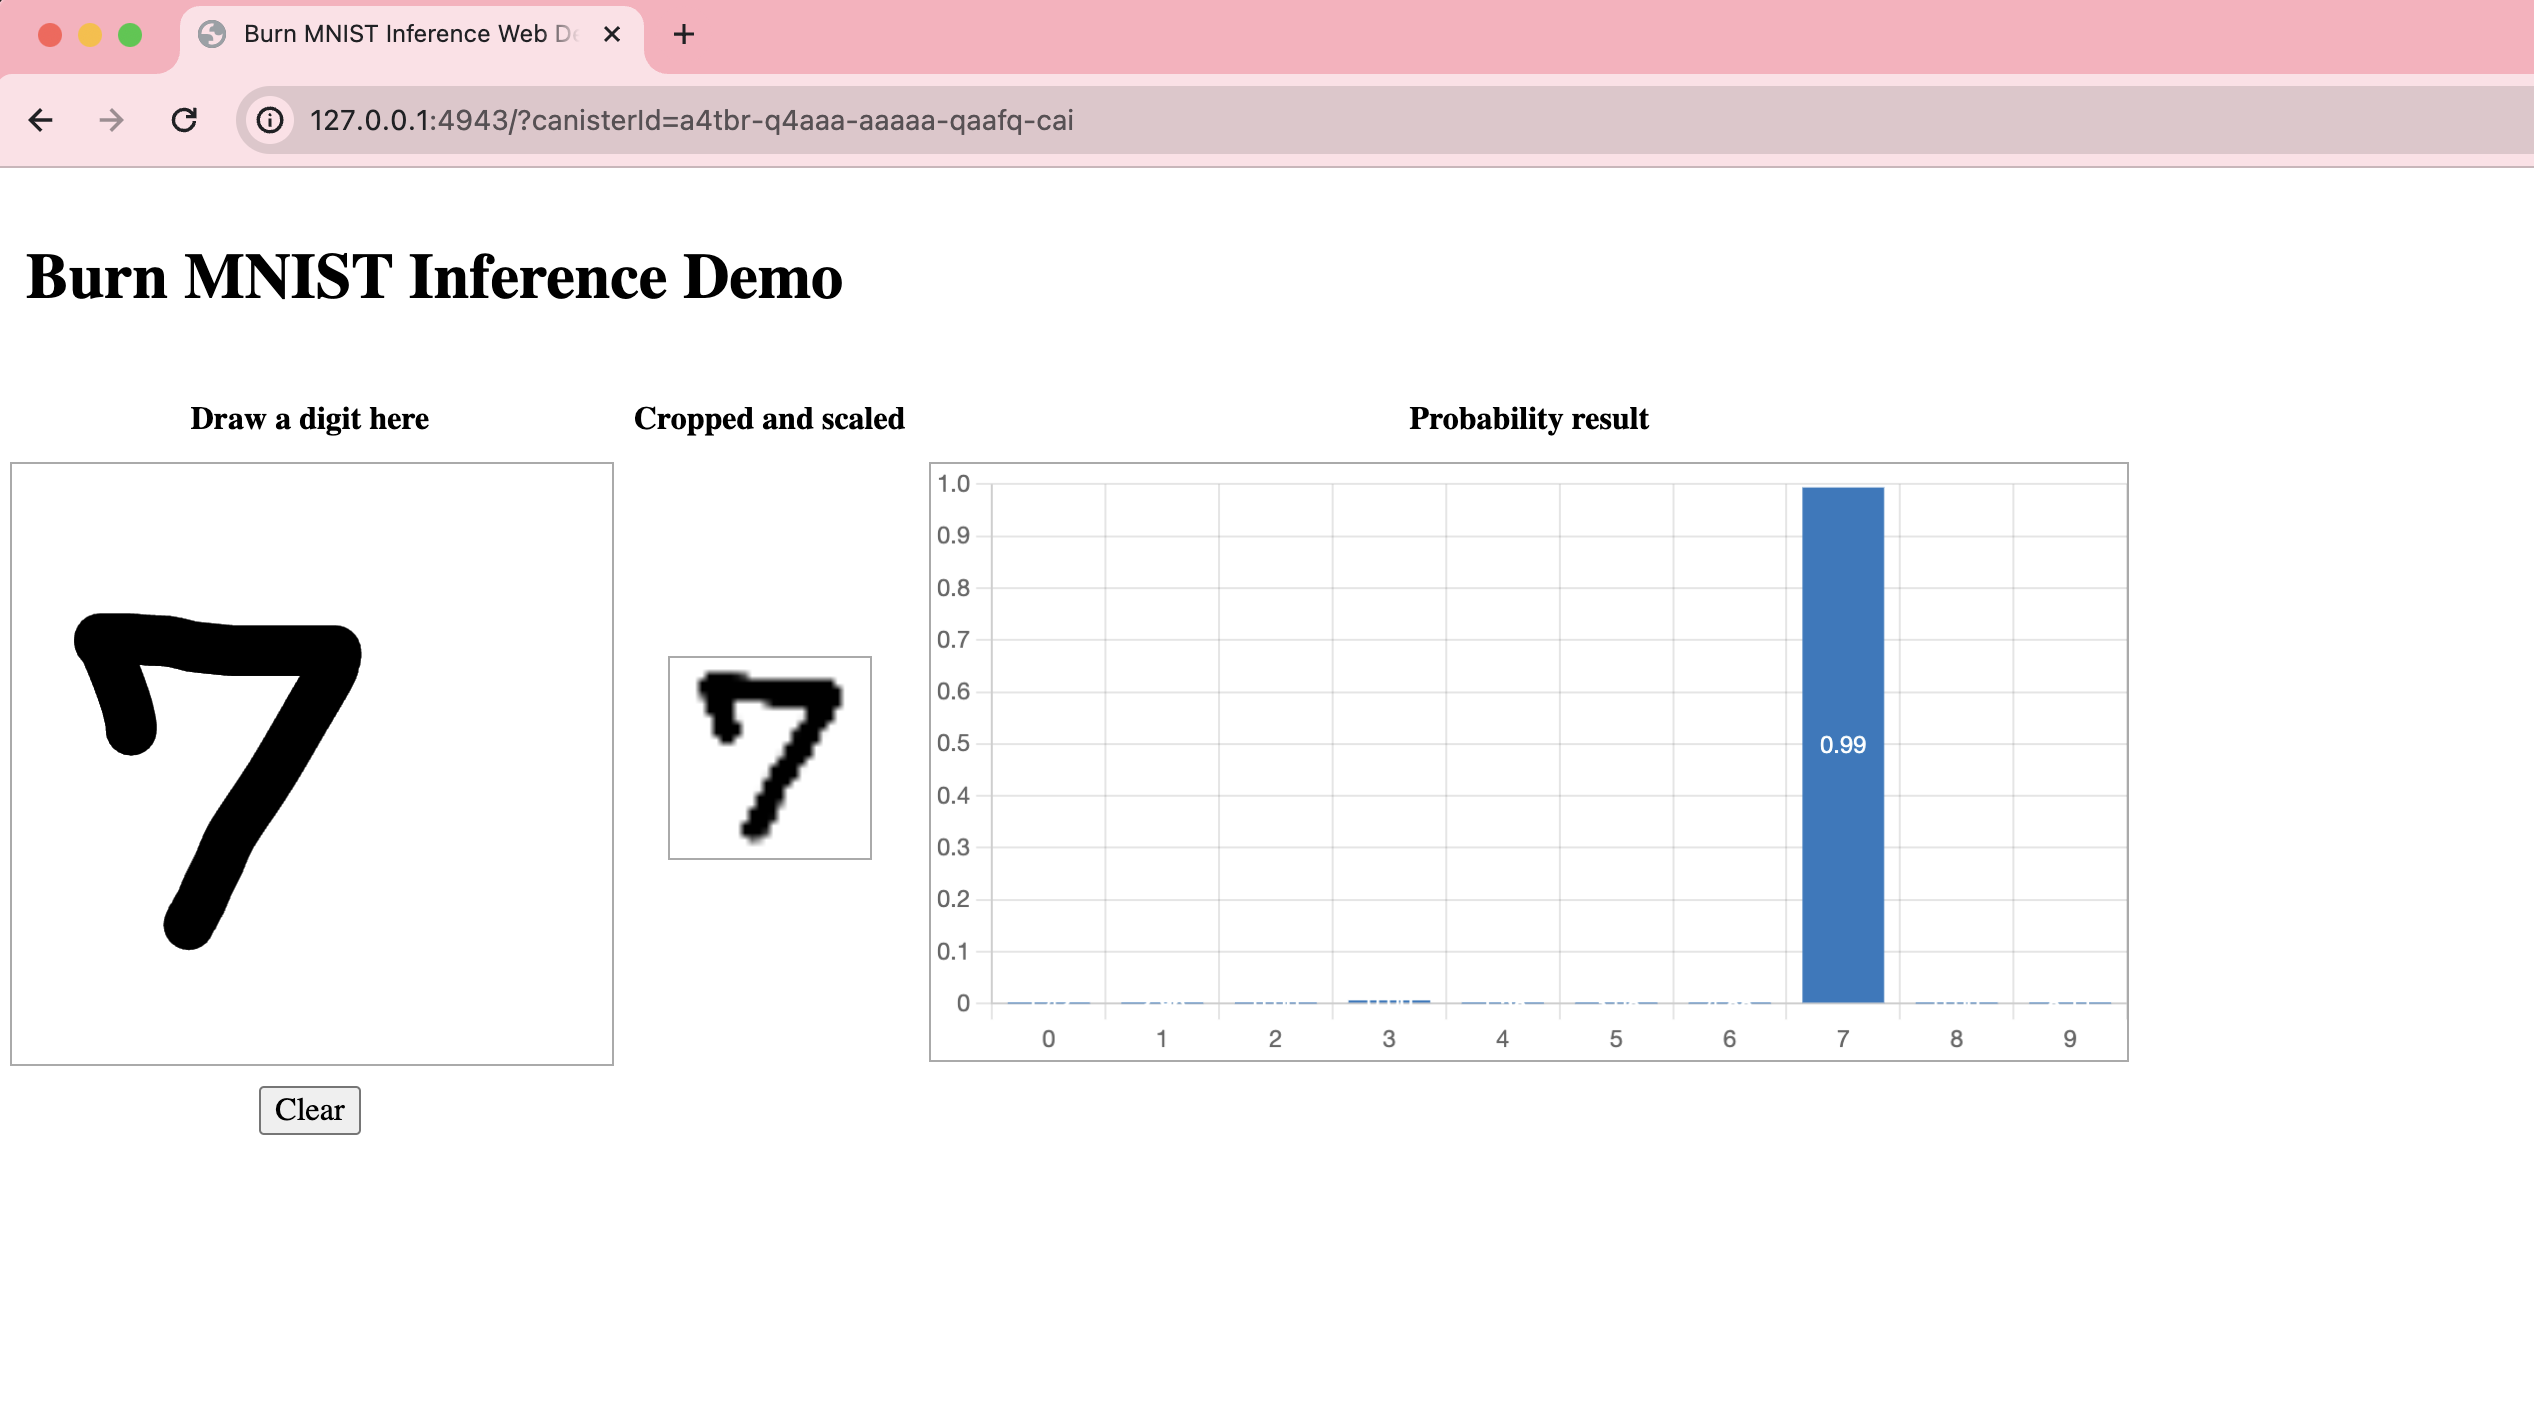
To use the machine learning model, draw a single-digit number in the 'Draw a digit here' box. The model will determine the probability percentage of what that digit is, then display the percentage on the bar graph.
For example, draw the number 7:

The probability that the number drawn is returned as 99% percent.
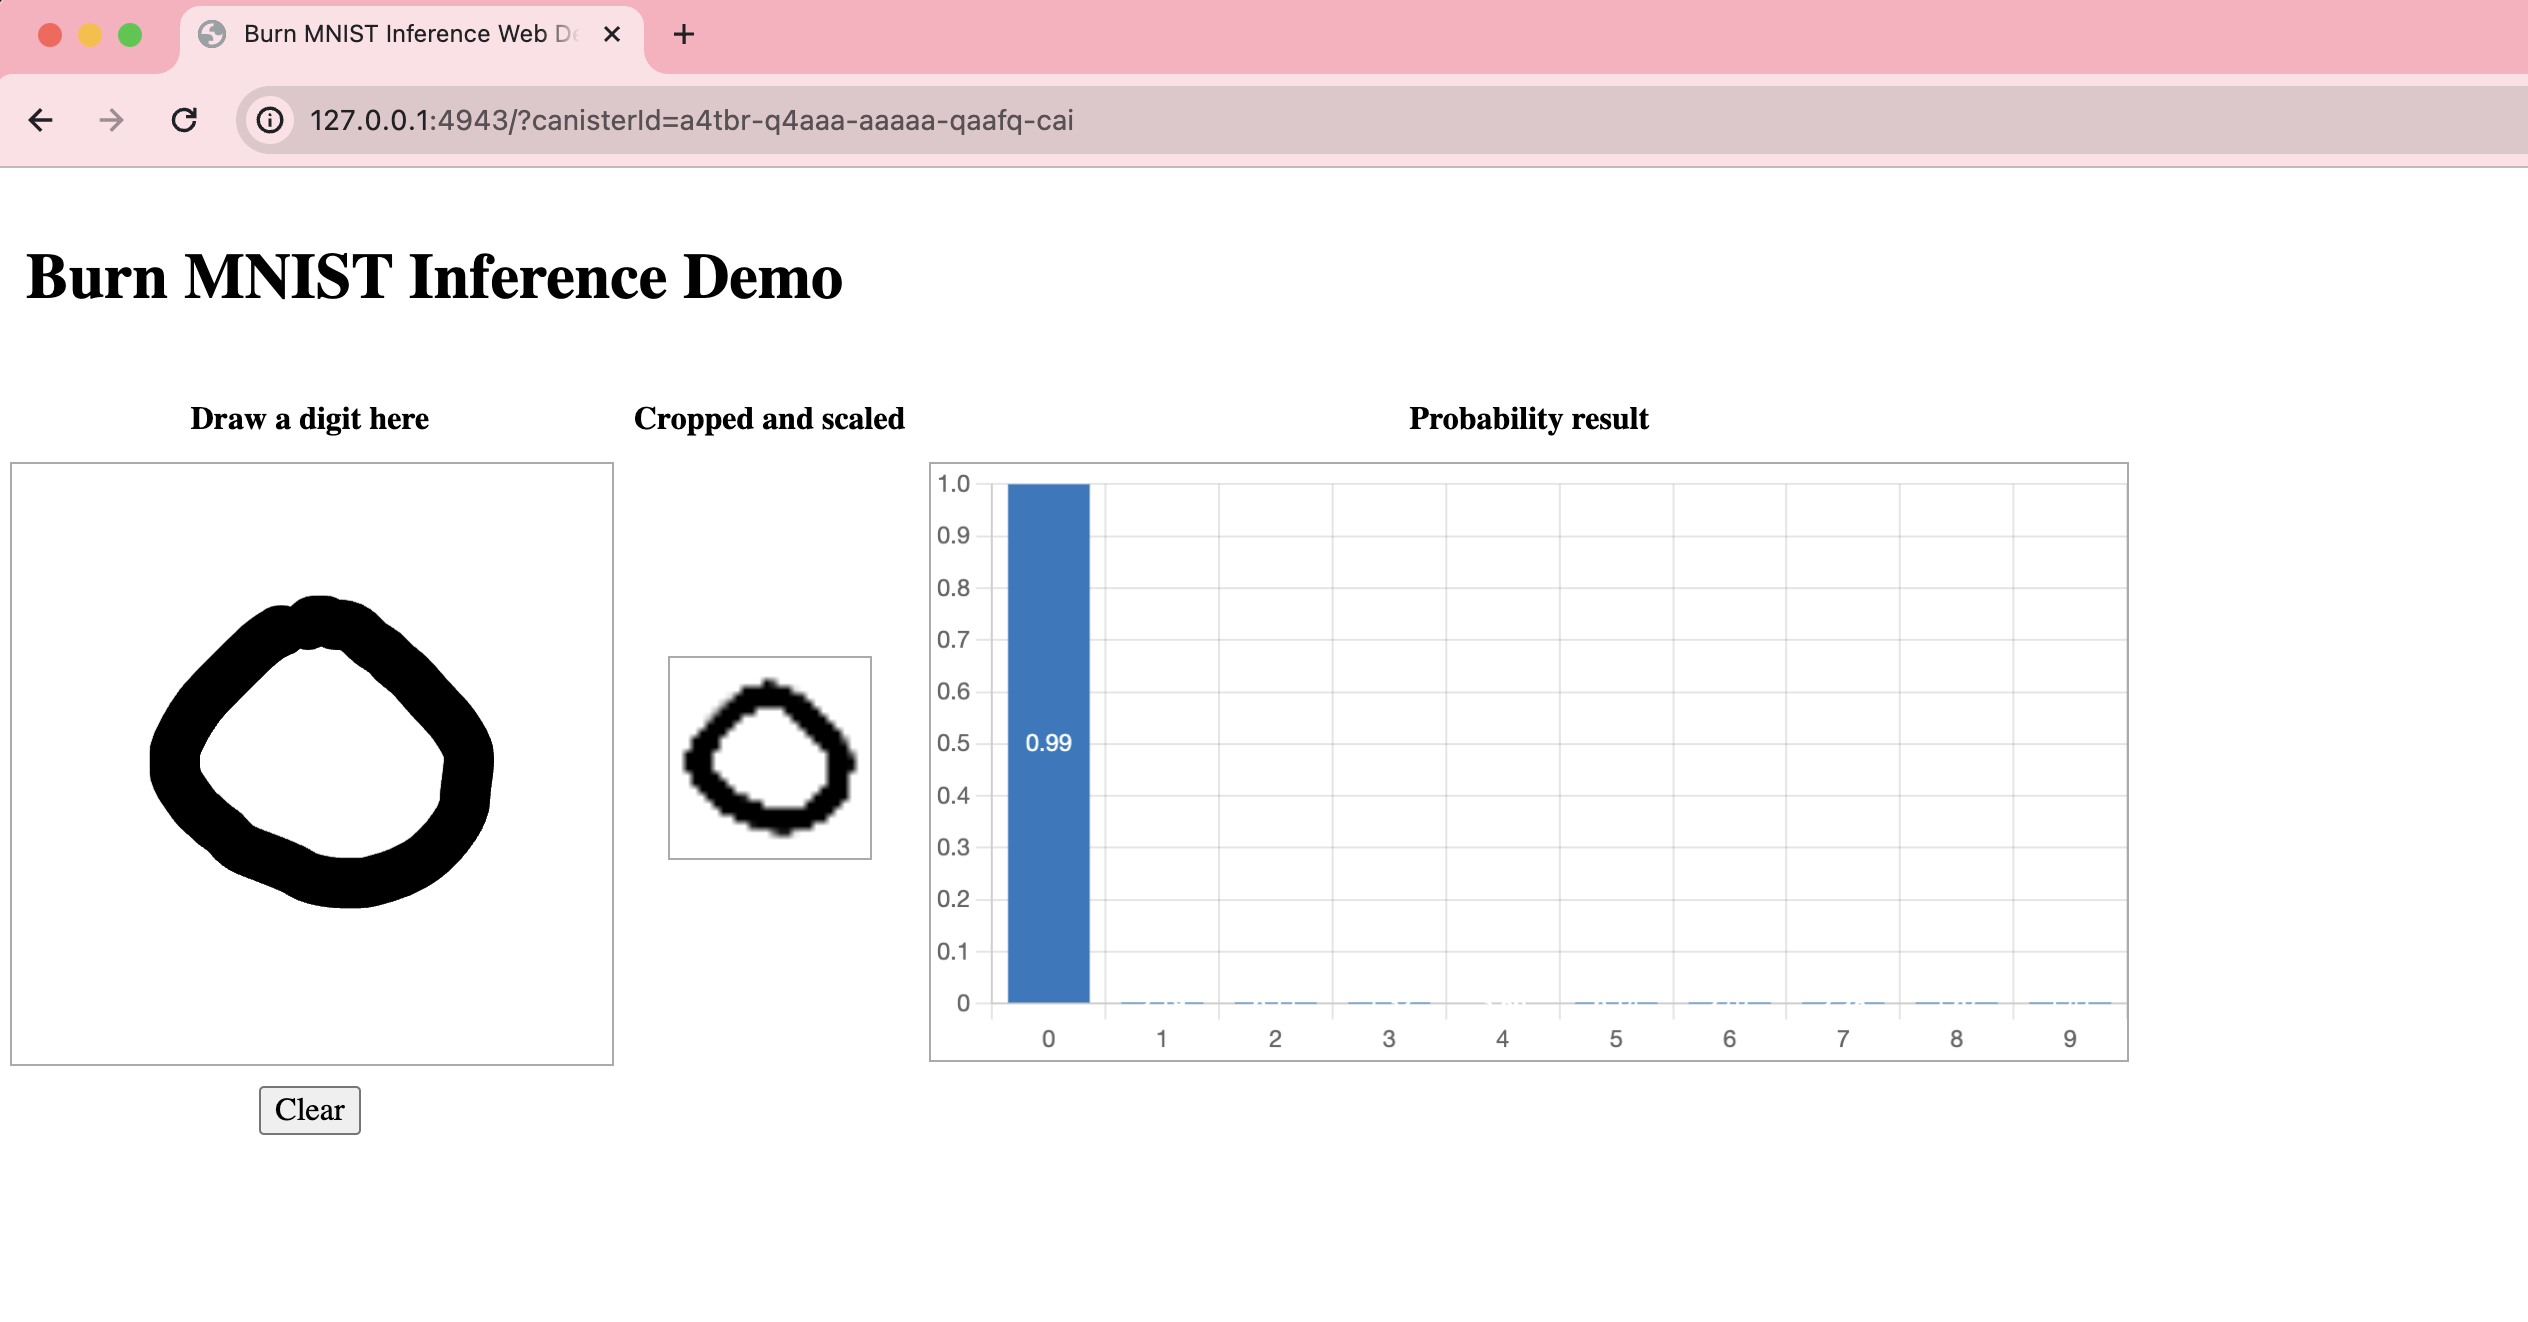
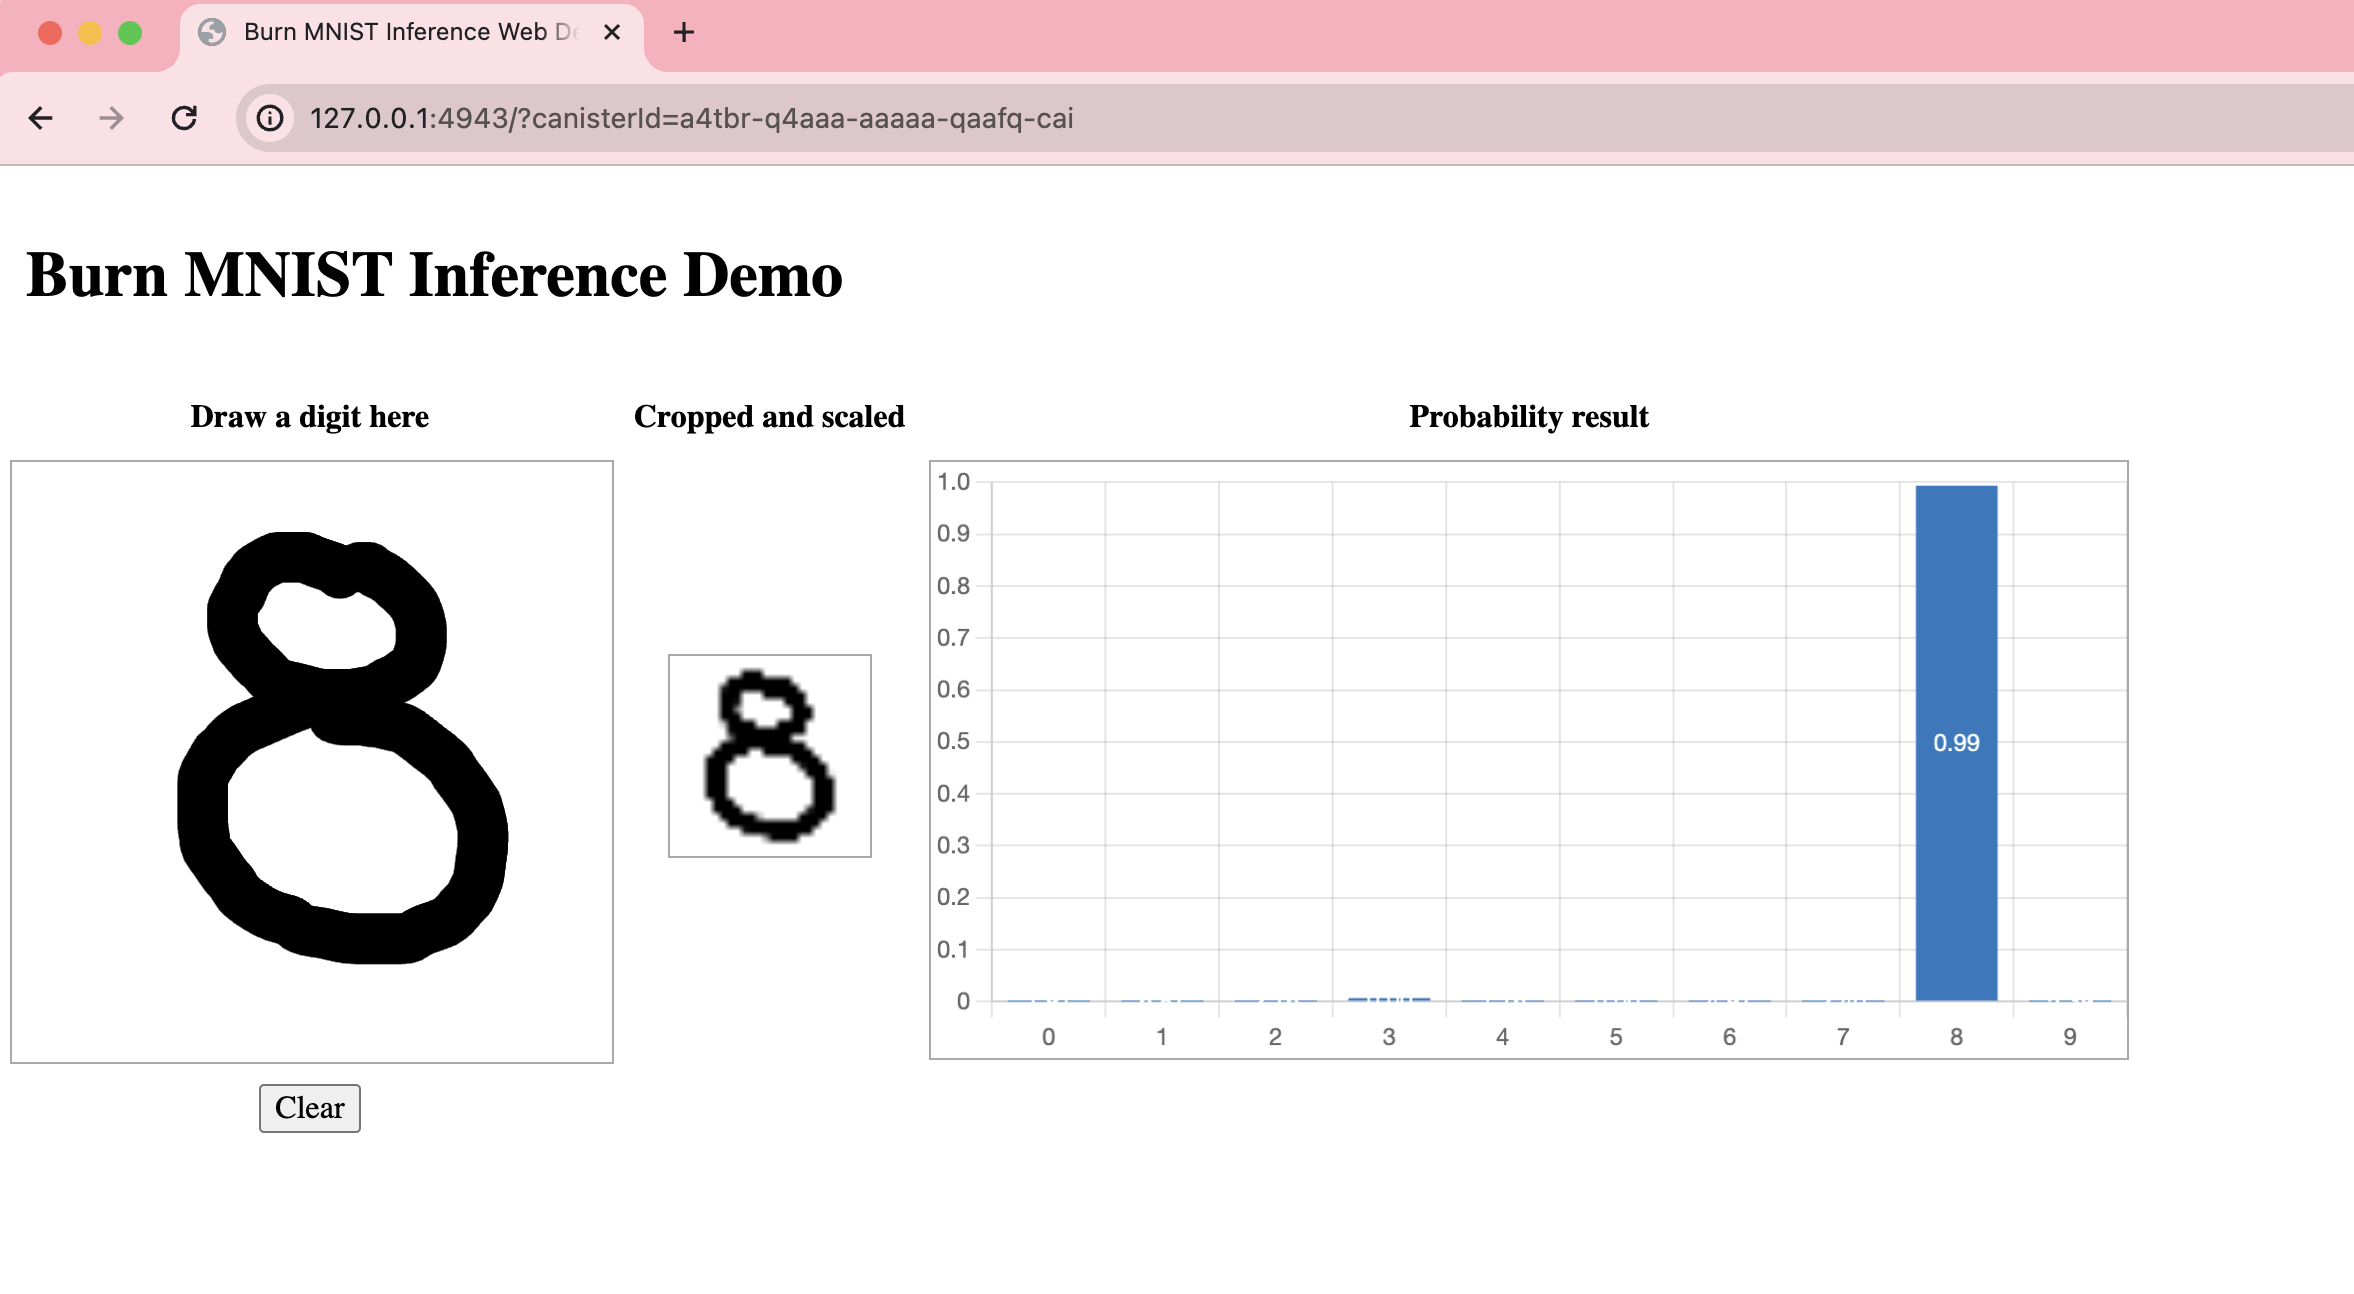
You can play with this model by drawing different numbers:

